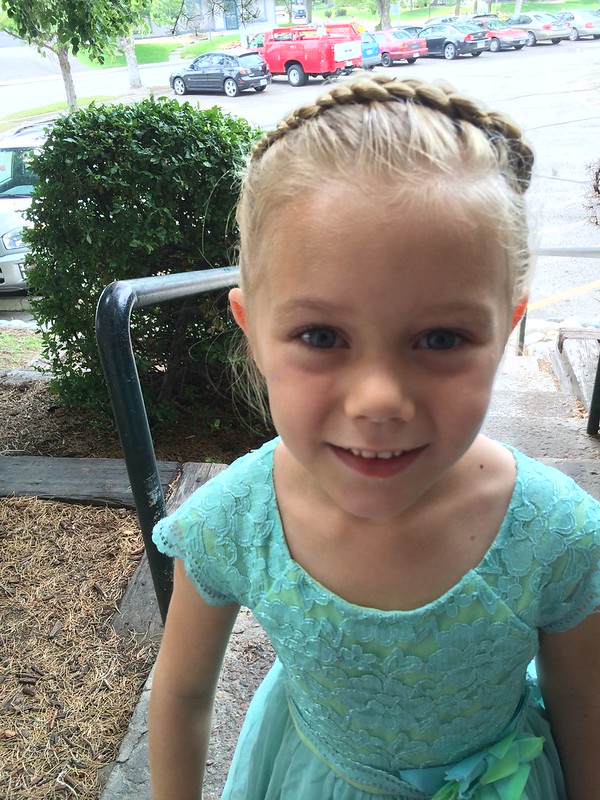
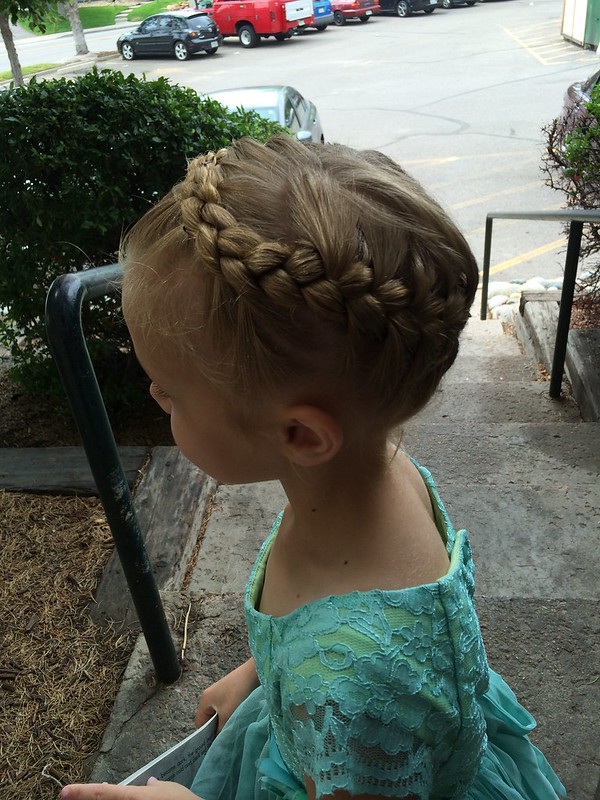
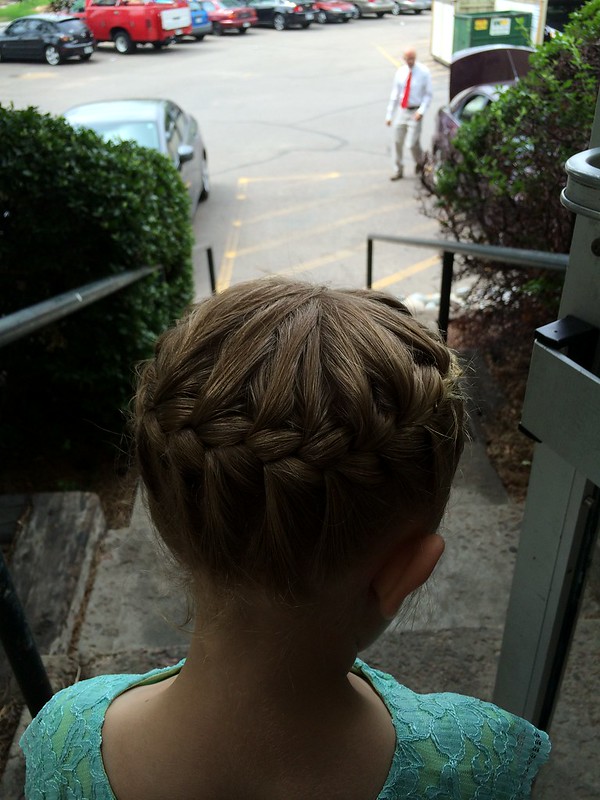
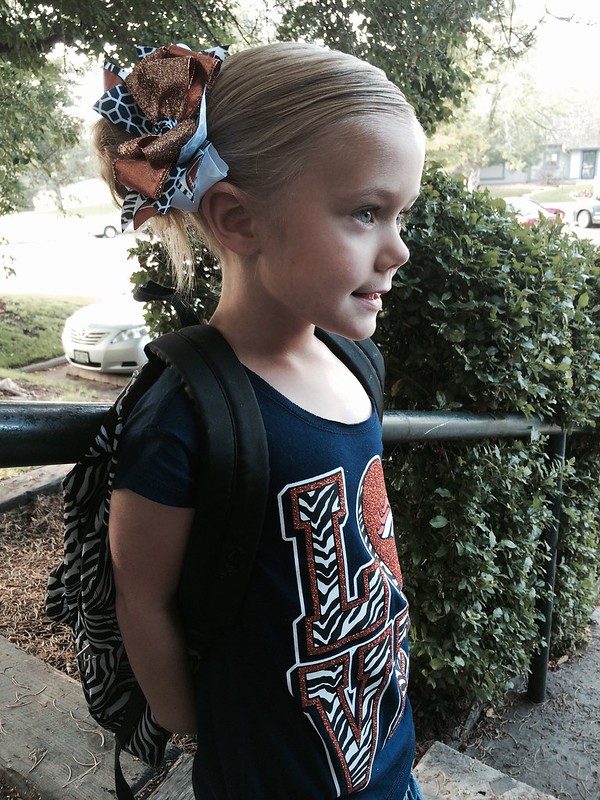
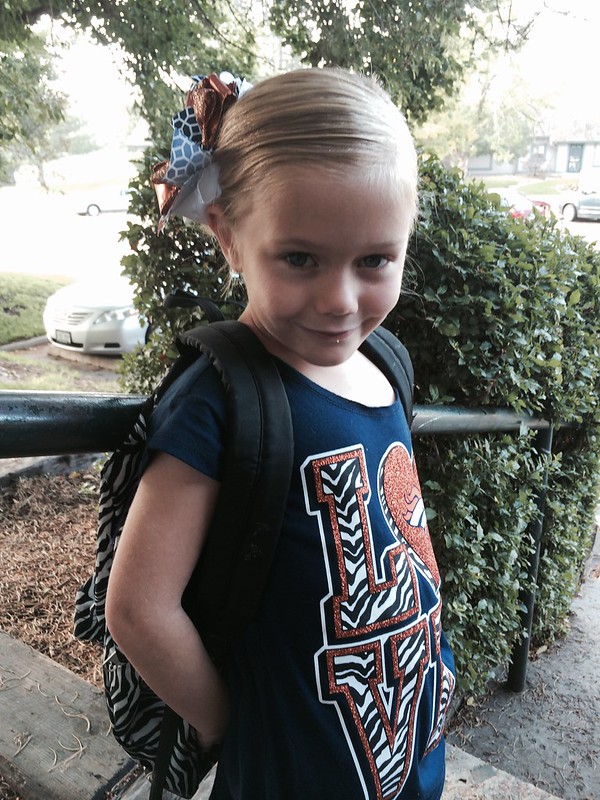
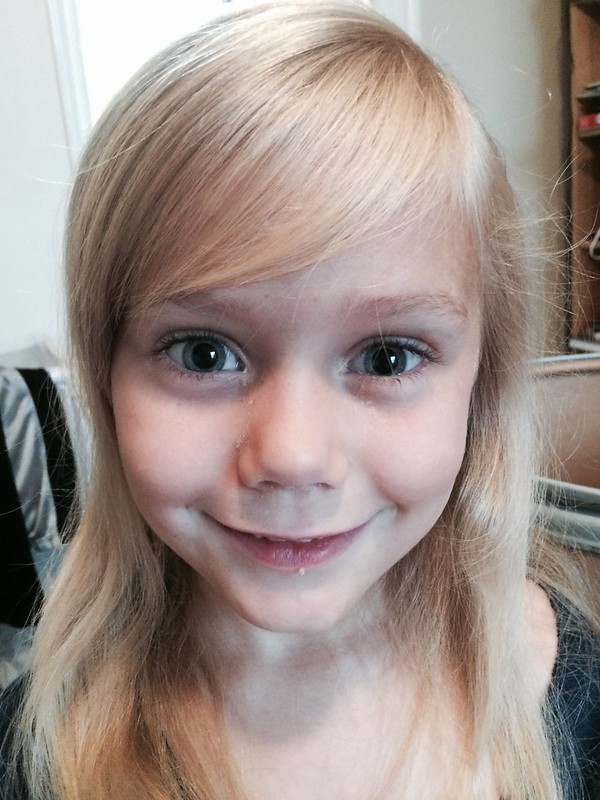
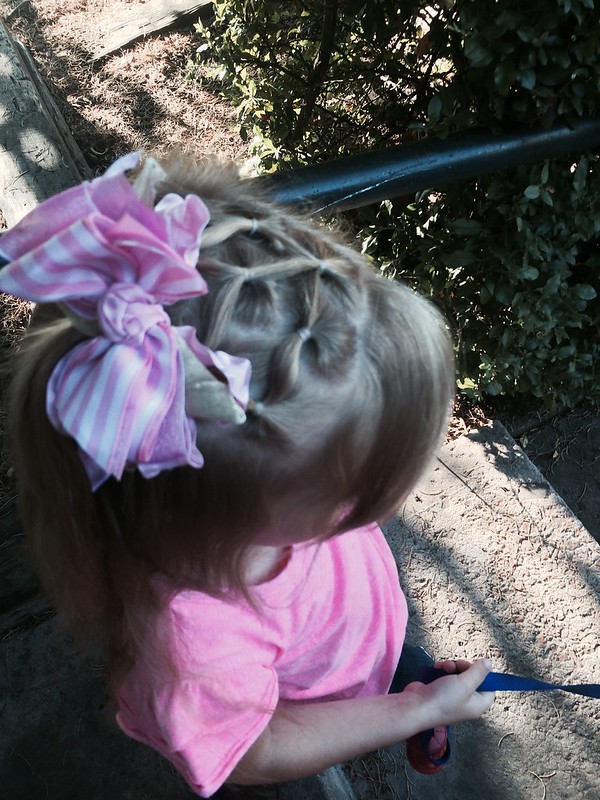
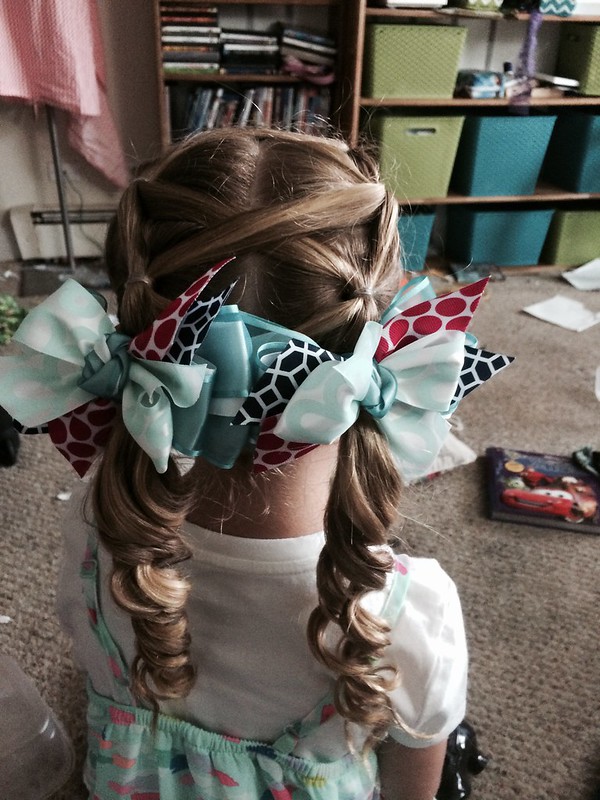
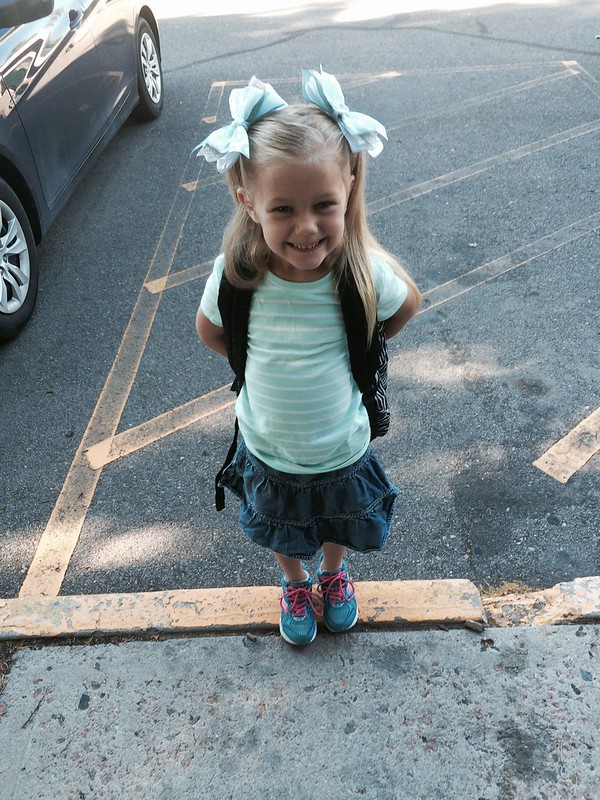
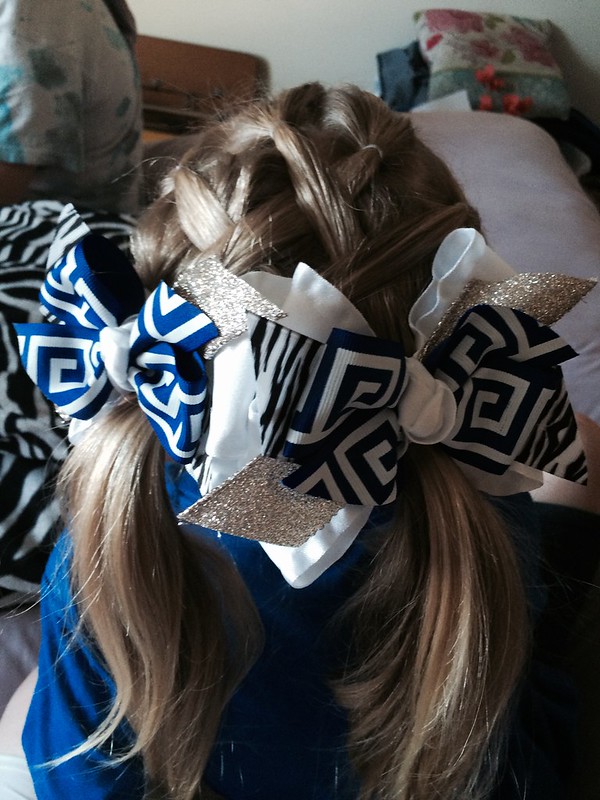
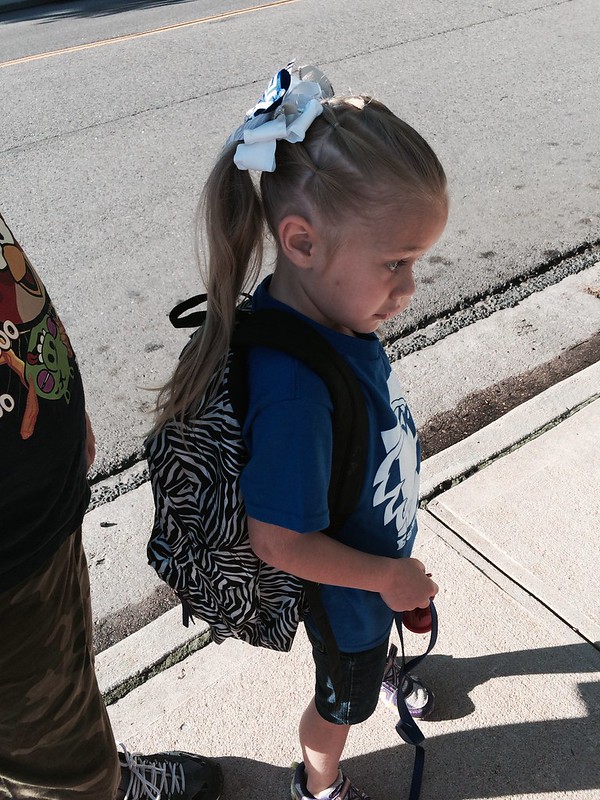
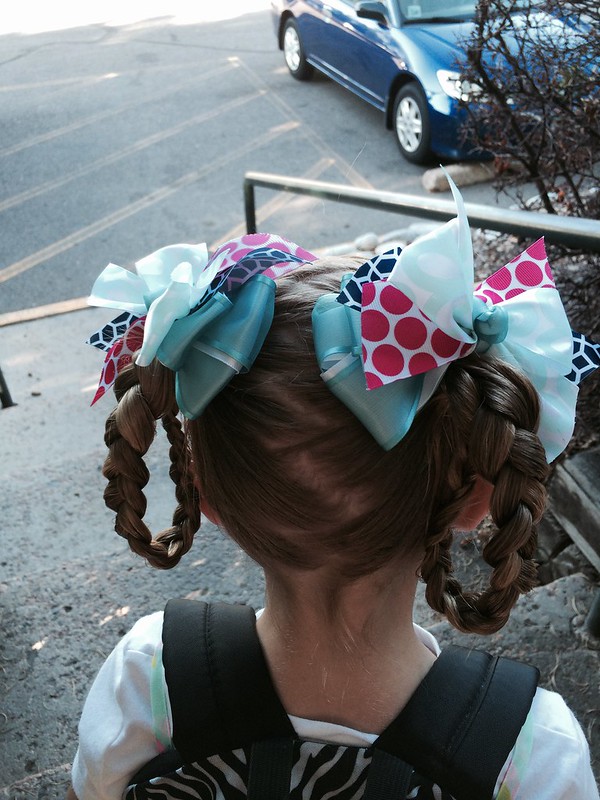
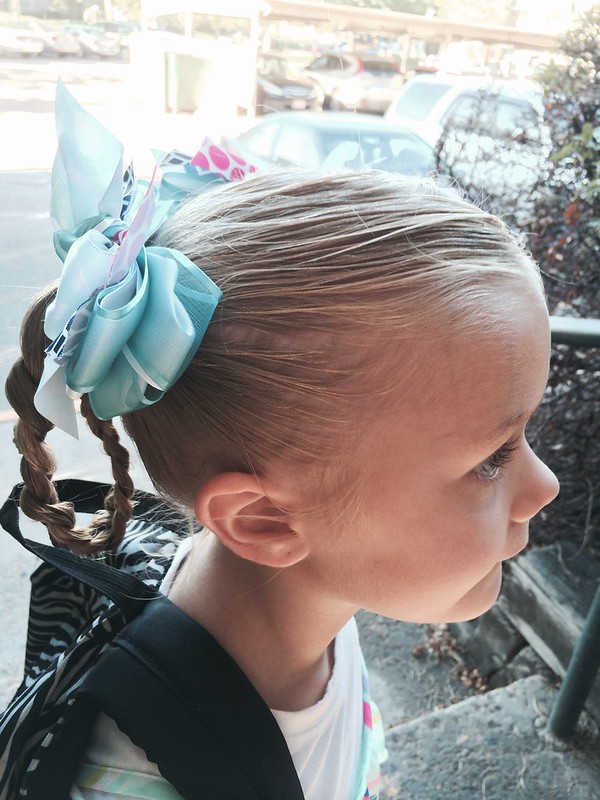
Not a lot of hair going on this week. I kept forgetting my phone at home and not getting a picture before Lorelai got on the bus. I did manage to capture two of my all time favorites though.
1. Donna Donuts: Named for my aunt Donna I wore Donna Donuts many a time growing up and I am very excited that Lorelai's hair has reached a respectable donut length.
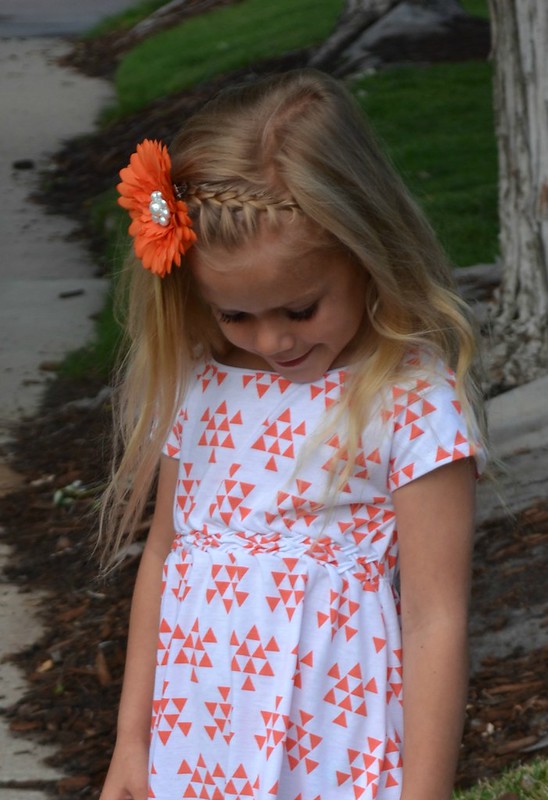
2. The Braided Crown: This is a hair do I often save for church. I love it, I always think it looks so elegant. People often comment on how complicated it looks but the fact is if you can do a regular french braid this isn't very difficult.
Have a hair happy week! I'll be back next Wednesday!
Wednesday, July 30, 2014
Thursday, July 24, 2014
Feature Friday: The Perfect Purple Swimsuit
You may remember that a few months ago I made Lorelai a bright yellow swimsuit and posted about it here. I was totally inspired to make more swimwear because, guess what, it's insanely easy and goes together very quickly.
I wanted to challenge myself and make a swimsuit for someone other than Lorelai. Making a suit for myself was actually what came to mind first but finding my size cups totally intimidated me. I thought making a suit for my sister would be a good in between step and since she has been staying with me it was the perfect opportunity.
Bekah and I have done a bit of shopping while she has been here, the girl is growing like a weed and is always needing new clothes. It seemed like everything she was interested in, if it wasn't Pokemon or Minecraft, it was purple. I was pleased with this because I had the perfect purple swim material already hanging out in my stash!
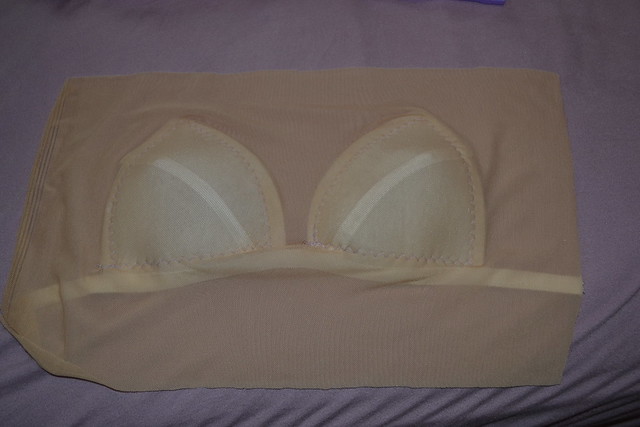
Now I sewed this swimsuit completely off the seat of my pants, I didn't use a pattern just loosely based it on a swimsuit she already had. I started with the most intimidating part.
If you follow me on Instagram or Facebook this will already look familiar because when Kent saw this he said, "I like those ears, Mom." It was hilarious and I had to share.
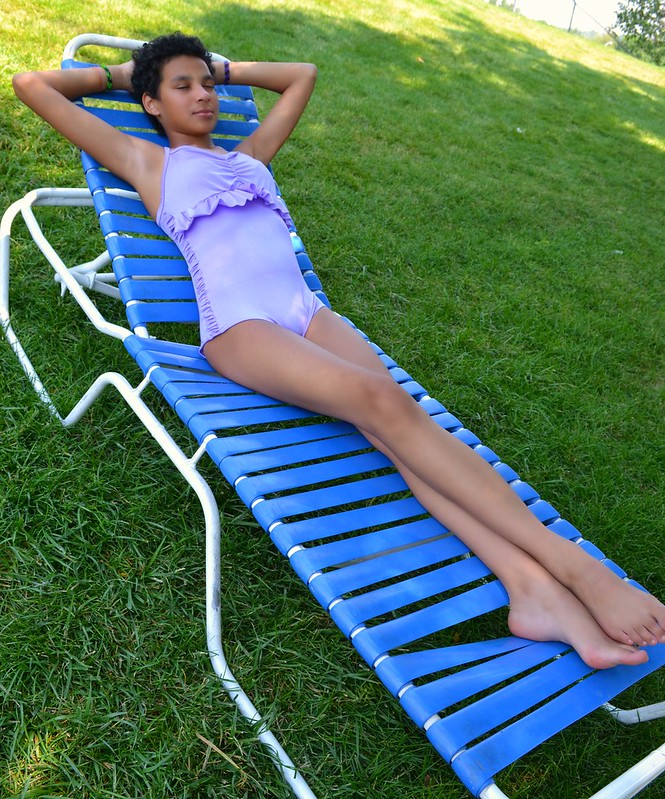
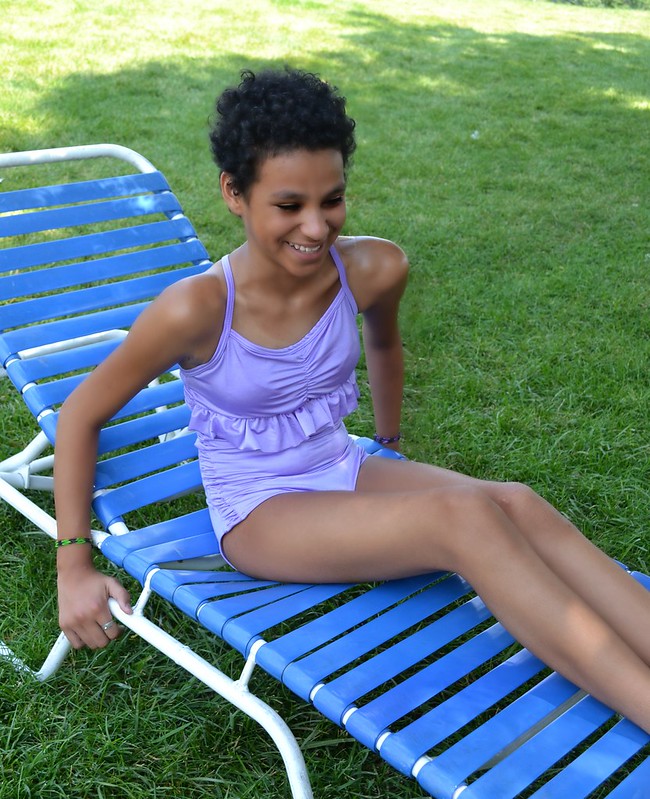
Sewing in the cups was intimidating but actually not very difficult. Once the bra area was done I was good to go and the rest of the project went together lickety split. I finished Bekah's swimsuit in time for her to wear it on our trip to Water World and I was so glad she was so excited for it.
Just for you we got in a couple of pictures before we got to all the water slide fun!
Look at the legs on this chick! You'd think she is six and a half feet tall.
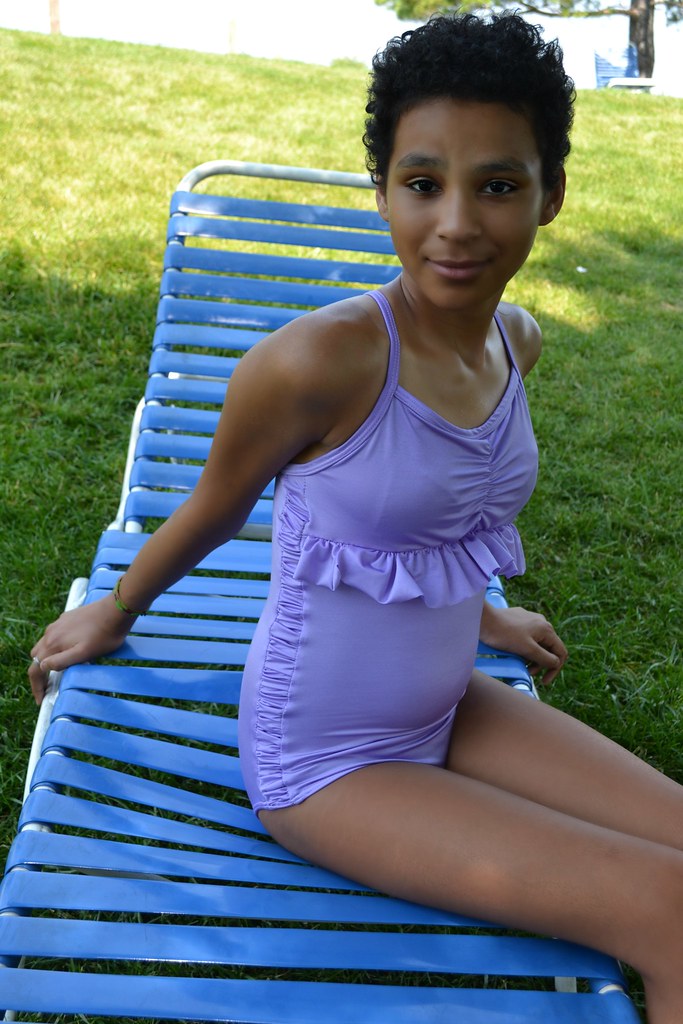
Look at this next picture. The whole time we were at the park I kept wanting to say, "I am just so proud of that bra piece!" But we were with my dad and husband and I thought that might get a bit creepy so I'll brag here: I am just so pleased with how it turned out!"
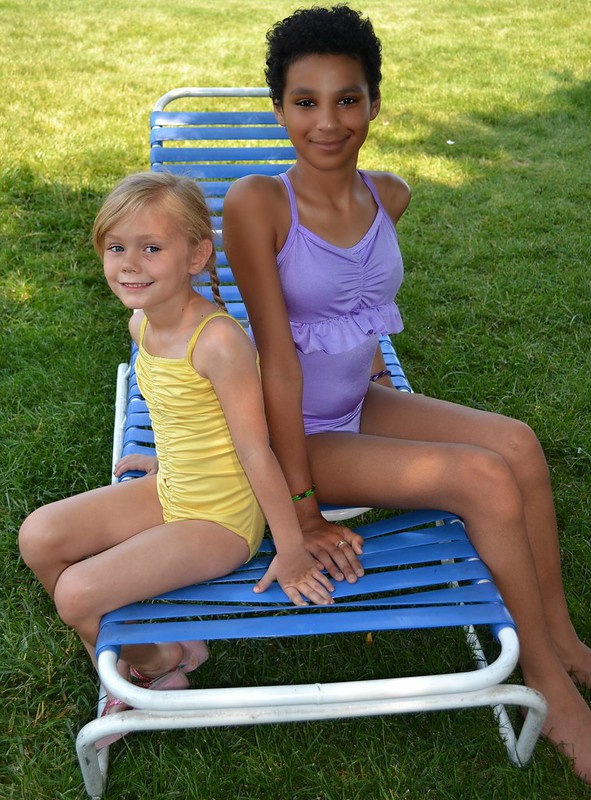
Lorelai won the Favorite Daughter Award this morning when she said, "I should put on my swimsuit you made for me and we can both wear awesome swimsuits!" Snaps for Lorelai! So just for fun here are my swimsuits together :)
I can't get over it, I'm in love with swimsuit making. I'm tempted to get another one sewn this season but I really think the next swimsuit I make will be for me and since I am having a baby next month I should probably wait until I know what shape I'll be next summer. Really though, I'm having a baby next month. I've probably got bigger fish to fry. Ha ha, see you next week!
Wednesday, July 23, 2014
A Hairy Situation
Lorelai. Cut. Her. Hair.
Okay, maybe that's a bit dramatic.
Tuesday night, after she went to bed, Lorelai cut herself some bangs. I saw it the next morning and was furious. I actually grounded her, actually used the word, grounded. Fortunately for Lorelai and my sanity she cut them long, in her eyes and I was easily able to fix them up. So here are the 'do's for last week and you can somewhat see the drama unfold.
Tuesday:
Wednesday: The bangs have been cut but I plastered them away with hair spray.
Look at this next face. It's saying. "Why are you taking a picture of my hair, I'm in trouble for this?"
After the Fix:
Friday:
It looks alright so I'm mostly over it. I should get comepletly over it. I probably will. Ha. Happy Wednesday everyone.
Tuesday, July 22, 2014
Tutorial Tuesday- Faux Braid
I am so grateful for the love that The Plaited Dress has received. I thought I would take a quick moment to share how to make the faux braid.
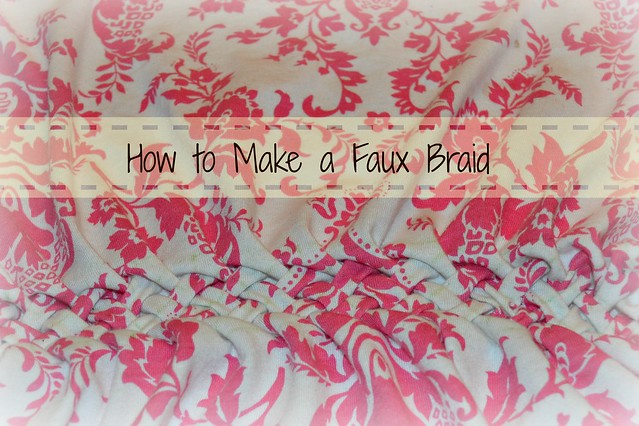
I used the technique in a dress I constructed from start to finish but it doesn't actually require a lot of sewing skill. For example, if you have a baggy t-shirt you want to give a little shape you can easily add in this braid to give it shape and interest. It's all about details!
To start you will need:
Fabric (or garment you wish to "braid")
Pencil
Ruler
Thread
Hand Needle
Scissors
Let's begin!
On the wrong side of your garment you will need to draw a grid just like this. For my dresses I used half inch squares. You can make bigger squares and make a bigger braid if you like, it's all up to you. Also, you can make as may rows as you like. For it to look like a real three strand braid you need to make at least five rows like I have done in this diagram here.
Also, in the diagram you see some blue diagonal lines. Draw them in this same pattern. This indicates which way you will be threading your needle through the fabric.
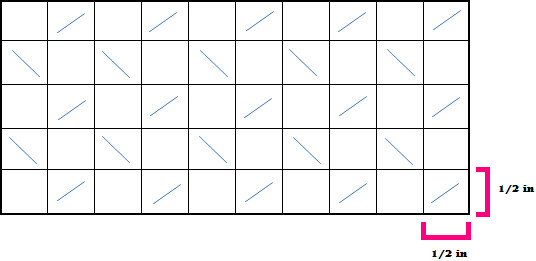
On your fabric it will look like this.
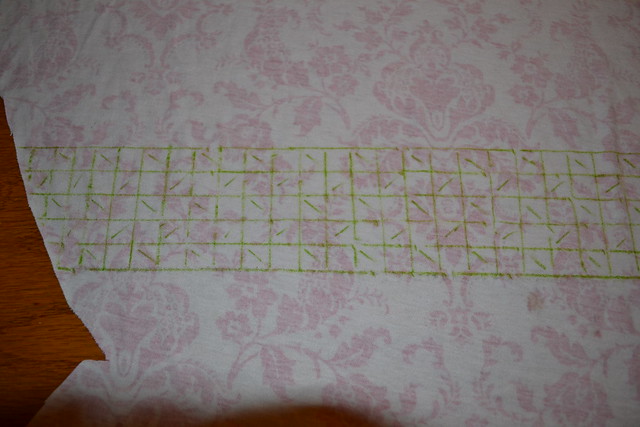
You should use pencil but for your viewing ease I used green washable marker.
I also used contrast thread for you to see more easily, but you should use matching thread. For this project I would have gone with white thread.
Once you have all that down thread your needle with a manageable length of thread and get ready to go!
Begin on the far right with the top most diagonal. Work your way down the column on the squares with diagonals and then make your way up the column directly to the left. Making sure to only go over squares with diagonals.
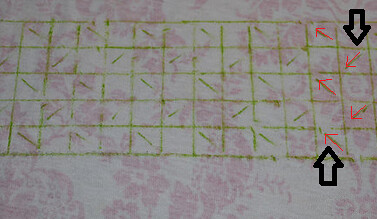
Insert your needle from top to bottom at point a. and then come up again at point b. Like this...
Do not pull thread all the way through, leave one to two inches at point a. like you see in the picture. Insert needle again from top to bottom at point c. and come up again at point d.
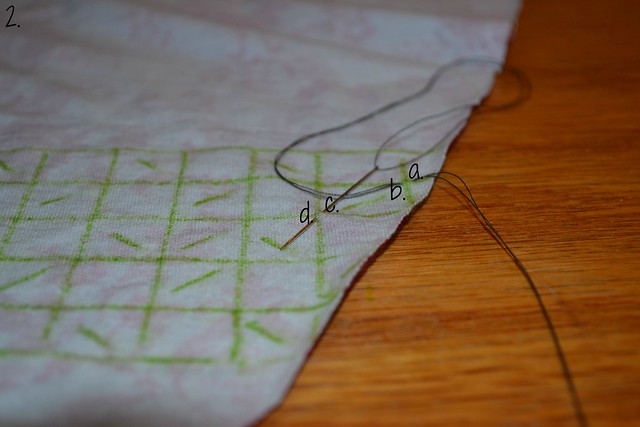
Remember, the diagonal is telling you the direction your needle needs to go.
Now gently lay your needle down. Grab the thread left near point a. with one hand and also at point d. with your other hand and pull them tight together so a. b. c. and d. are all squished together.
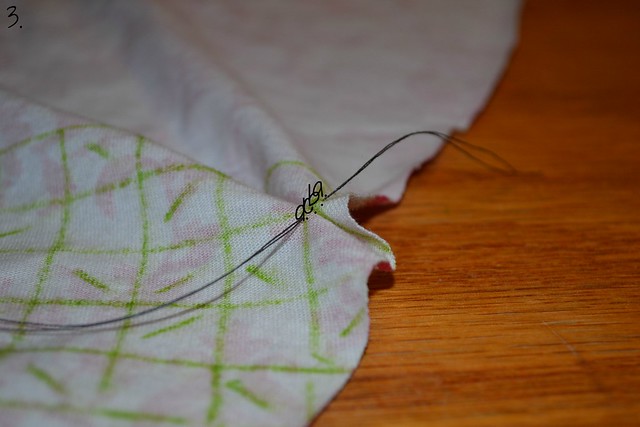
Tie a square knot and cut both ends of the thread.
You will repeat that step over and over again until you've made it all the way across your garment.
You will need to rethread your needle.
After a few knots it will look like this.
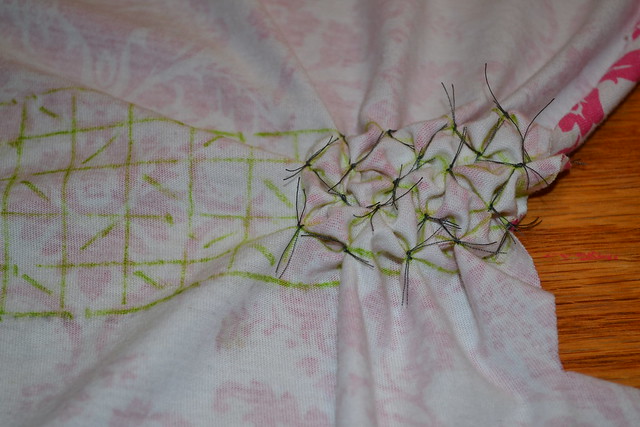
When you have made it all the way across it should look like this..
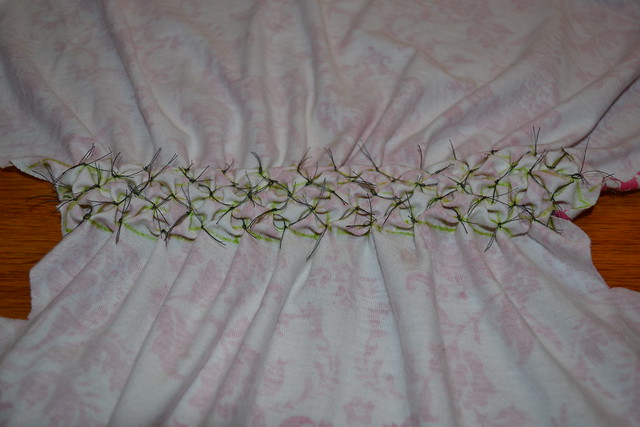
And your beautiful front will look like this..
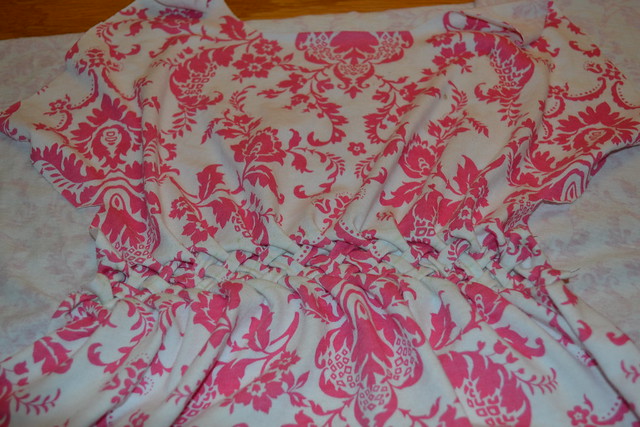
Great job! I hope this helps you add a fabulous detail to your own project. If you have further questions please ask me. If you end up making your own braid, please share a picture with me. I can't wait to see what you do with it. Happy "sewing" my friends!
Friday, July 18, 2014
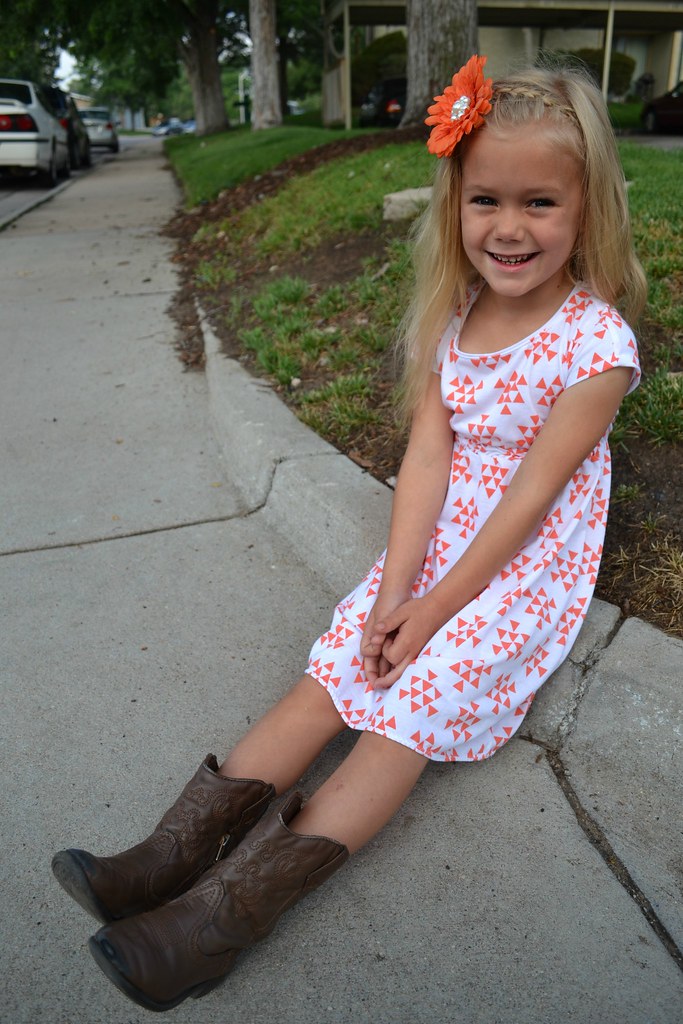
Triangles Are My New Thing
Hanging around the internet looking for fabric I stumbled across this fabric at girlcharlee.com. I didn't know what I would use it for but I knew I had to have it. So it came in the mail and sat in my fabric stash for three months.
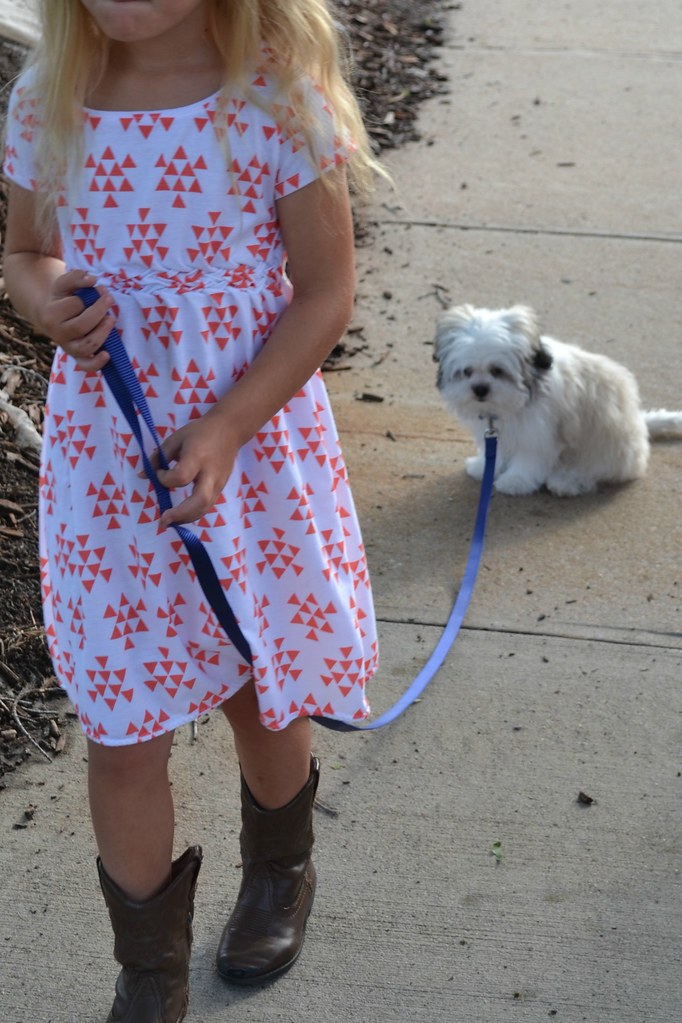
There you have it! My new favorite dress. I think I need to make some more!
Then it hit me! I knew what I wanted to do! So it sat in my fabric stash for another month.
Finally, the first day of school was fast approaching and I thought it would be the perfect first day of school outfit. My brother and sister had been here for a few days and I was still catching my stride so it just didn't happen in time for the first day of school.
I get these ideas in my head of how I want a project to turn out and sometimes, like with this one, I want to use a new technique but that technique also intimidates me and I just let it put off the project. I wish I wouldn't do that. I wish I wouldn't because it always feels so great to conquer it and think of all those lost months!
Oh well, it's done now, and I can't wait any longer to share it with you.
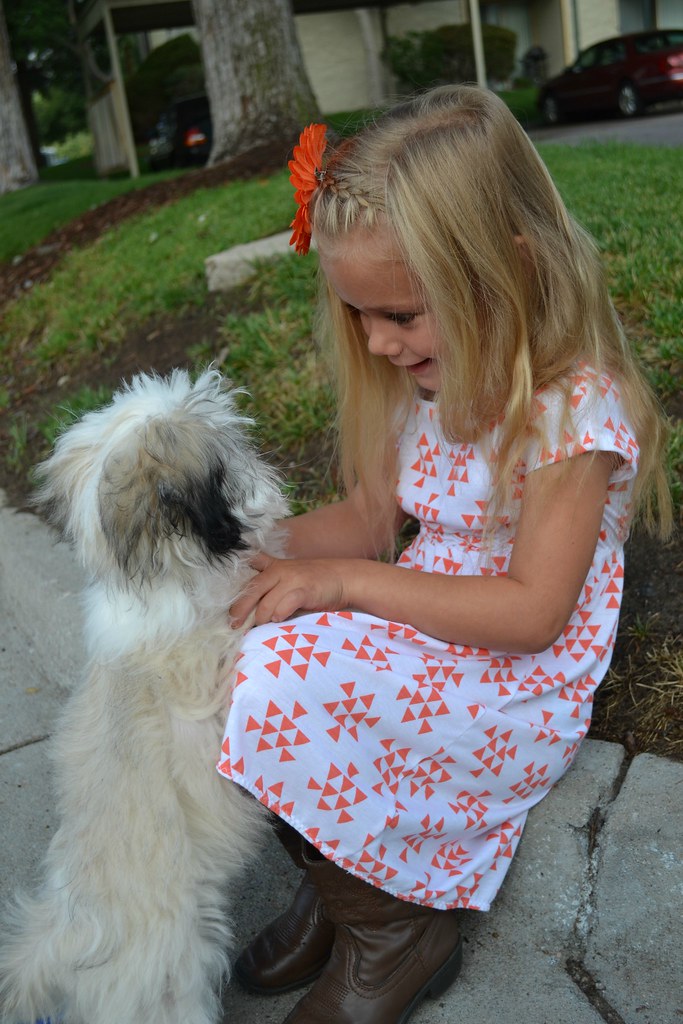
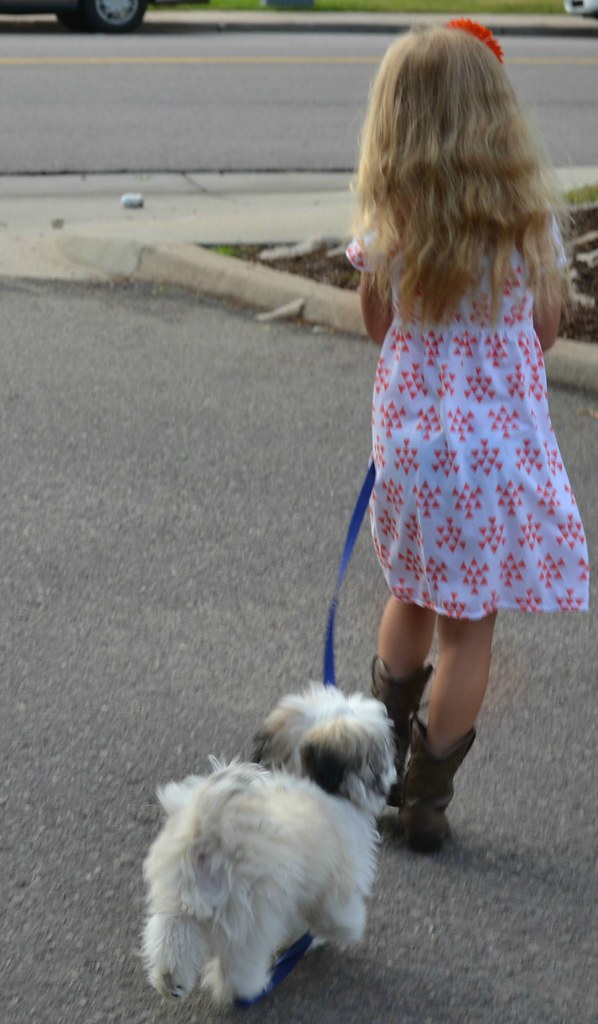
Here is The Plaited Dress.
Oh well, it's done now, and I can't wait any longer to share it with you.
Here is The Plaited Dress.
There you have it! My new favorite dress. I think I need to make some more!
Wednesday, July 16, 2014
Morning Energy
It's funny to say that I have so much energy in the morning considering I am 34 weeks pregnant but it is true. For a year and a half I was throwing newspapers from 1-5am. Shockingly enough I wasn't getting enough sleep and it was seriously affecting my day. Since I quit back in March I've slowly been coming back to myself and I really felt the difference when Lorelai started school last week.
I woke up the morning of her first day and I had so much energy I made breakfast and found there was still extra time so I sat Lorelai down and did her hair. I love doing her hair and it was one of the first things I let go when I was tired all the time. I've been having so much fun with it that I decided to share here what has been going on.
Last week's successes:
First Day of School
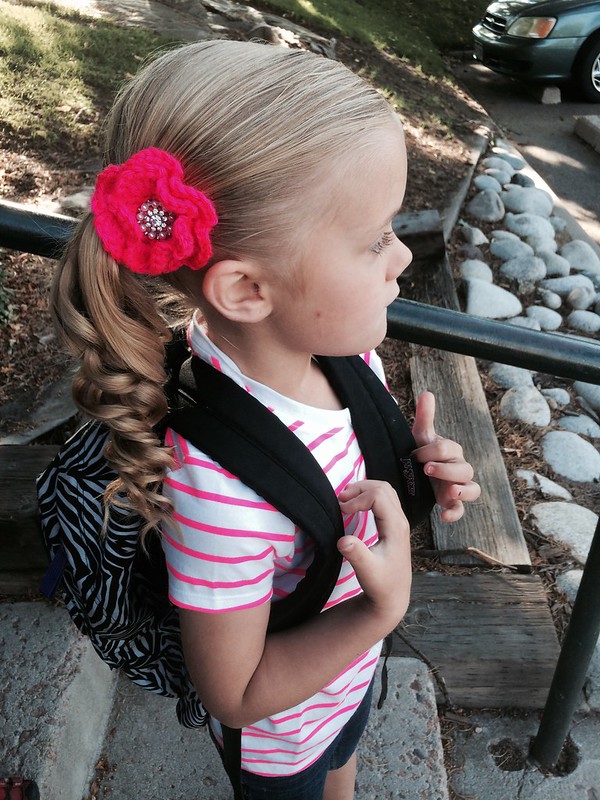
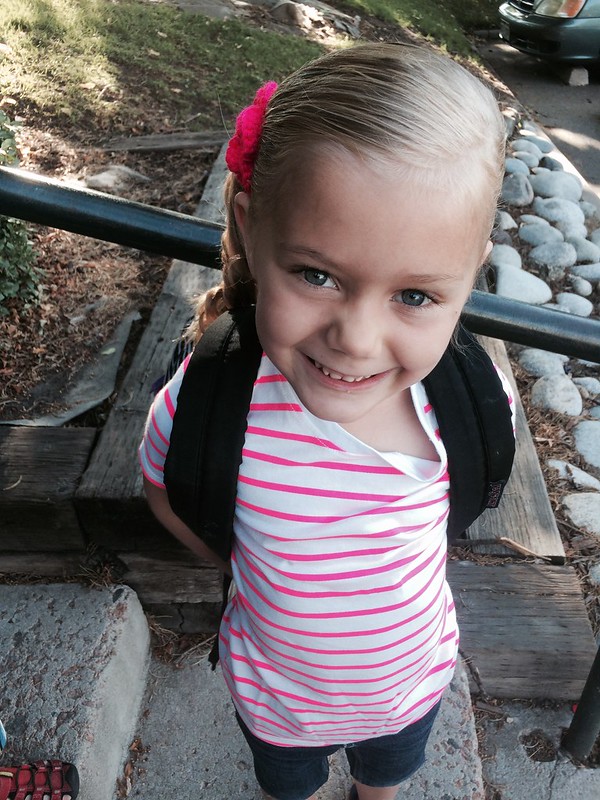
I was so thrilled that I already owned this yarn that perfectly matched her shirt. Crocheting this flower went lickty split and I love it.
So does Lorelai, she likes things with pizazz ;)
This was a Lorelai request. She really wanted a zig zag part.
Spirit Day!
Future hair posts probably wont be so picture heavy. I imagine over time I will get use to all the energy and the novelty will eventually wear off but for now I am having fun and you get to enjoy it too.
Subscribe to:
Posts (Atom)